
How to Watermark Images for One Shopify Product
Create, test, and apply a logo or text watermark to one Shopify product image before scaling across your catalog.
3 min readUpdated Sep 15, 2026
Start with one product before you scale
The safest first watermark job is not your whole catalog. It is one product with a few representative images: a clean studio shot, a close-up, and a photo with a busy background. That small test tells you whether the logo is readable, whether the placement survives different crops, and whether the treatment feels like your brand rather than an obstruction.
RD Watermark works inside Shopify admin. You create a reusable profile, preview it against an image, then apply it from the product workflow. Before the app writes a watermarked version, it captures the original, so the first test is reversible.
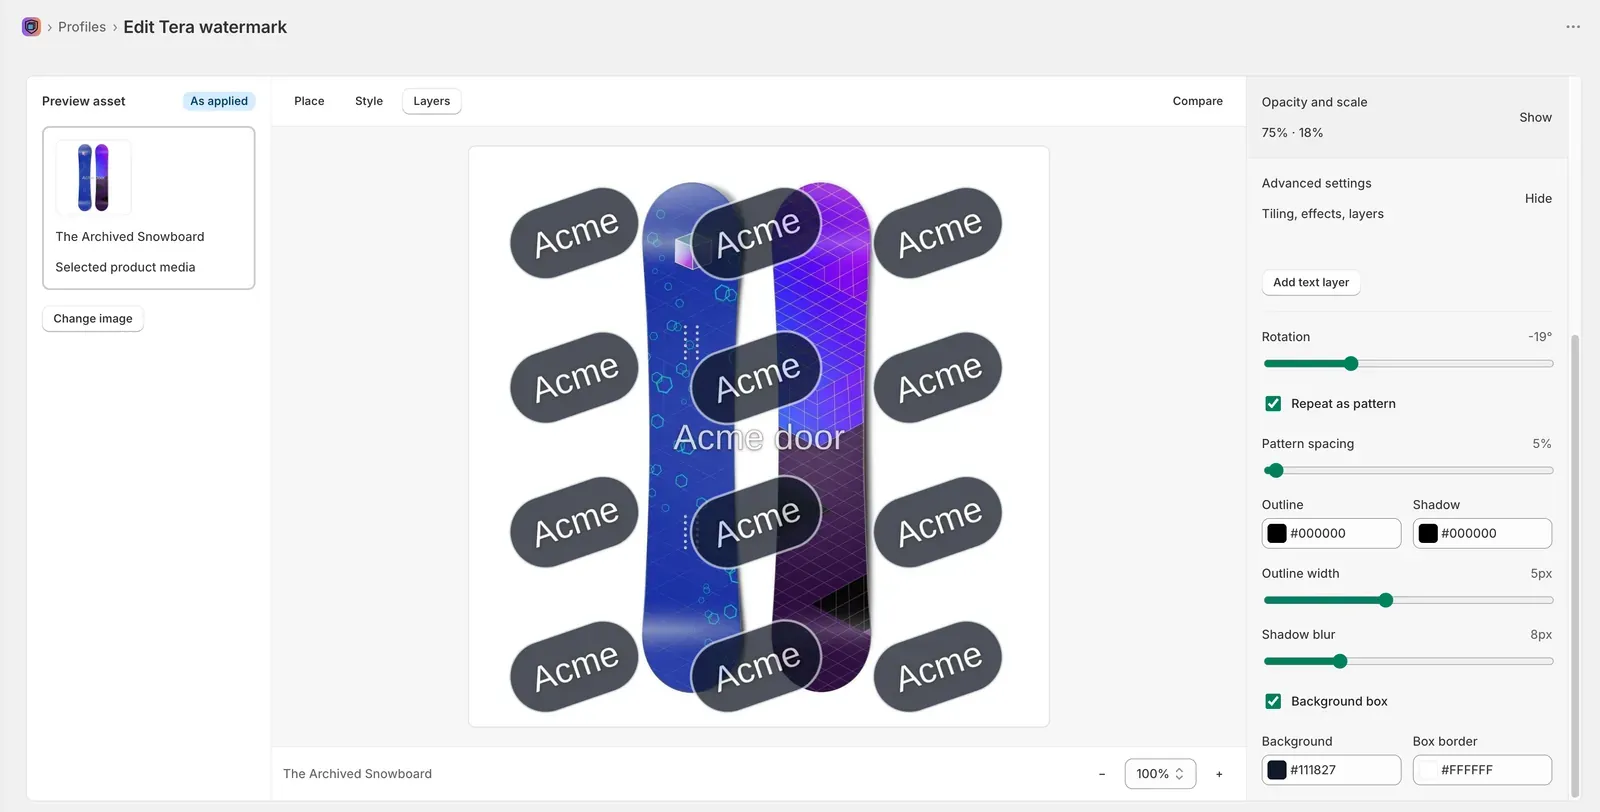
Choose a watermark that protects without hiding the product
A watermark has two jobs: make unauthorized reuse less attractive and leave enough of the product visible for a shopper to make a decision. The best settings depend on the image, but the same choices matter on every catalog.
- Use a transparent PNG logo when the mark needs to sit over the product without a white box.
- Keep corner marks modest for product-detail images; reserve larger or tiled marks for supplier images that are often copied.
- Add an outline or shadow to text when your catalog includes both light and dark photography.
- Check mobile-sized previews. A logo that looks subtle on a desktop monitor can cover the product on a narrow screen.
- Save a separate profile for campaigns or seasonal collections instead of repeatedly editing your evergreen brand mark.
For a closer look at layers, positioning, opacity, and tiling, use the Editor studio guide.
A practical first-product workflow
1. Build and name the profile
Give the profile a name another teammate can understand six months from now, such as “Main catalog, lower right” or “Wholesale preview, tiled.” Add your logo or text, select a starting position, and save. Naming is a small discipline that prevents the wrong mark from being chosen later.
2. Preview against the hardest image
Do not judge the profile only on a white-background photo. Open a busy lifestyle image or a close crop where the product fills the frame. Adjust scale, opacity, rotation, or contrast until the mark is visible without covering the product’s most useful detail.
3. Apply to selected media and review the job
From the product admin workflow, choose the profile and only the images you want to test. The app runs the work in the background, so you can continue in Shopify while it processes. When the job finishes, inspect each affected image on the product page rather than relying on the editor alone.
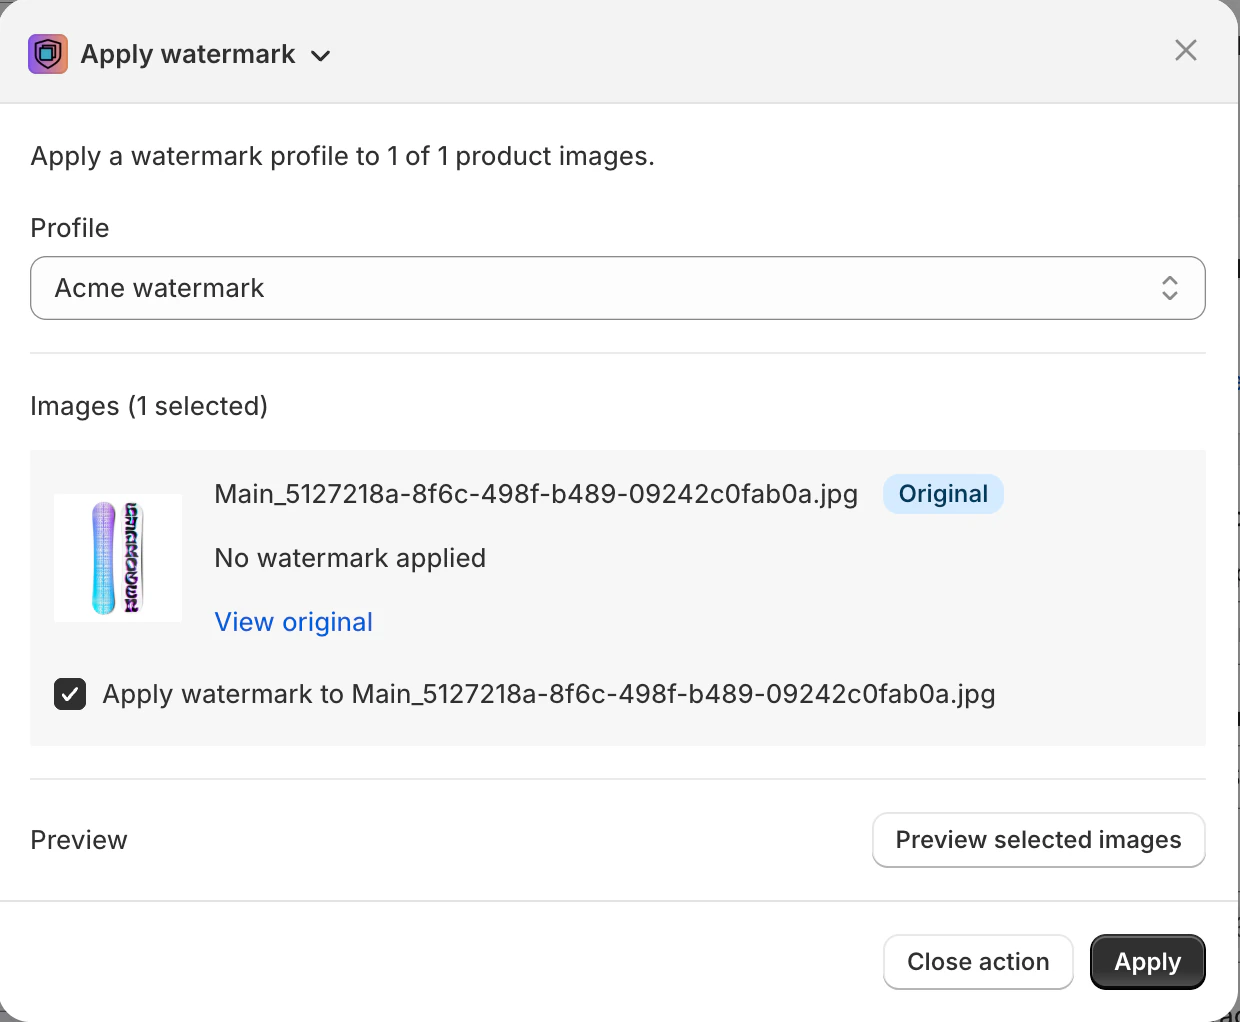
Review the result like a customer and an operator
After a first apply, review the storefront image at normal viewing size and the Shopify product media in admin. The customer view catches visual problems; the admin view confirms you changed the intended files. This two-minute check is more useful than endlessly refining a canvas preview.

| Check | What good looks like | Typical adjustment |
|---|---|---|
| Legibility | The mark is visible on light and dark images. | Add a shadow, outline, or a little more opacity. |
| Product visibility | Key texture, fit, and details are easy to inspect. | Reduce scale or move the mark to a quieter edge. |
| Consistency | The same profile feels intentional across the image set. | Create a second profile for a different photo style. |
| Recovery | You know where the original version can be restored. | Review job history before expanding the run. |
If a test needs to be undone, follow the restore-originals guide before changing the profile again.
When a single-product test is ready to graduate
A profile is ready for a larger run when it has survived several image types, the team agrees on the treatment, and you have checked the finished media in Shopify. Keep the first batch narrow, such as a collection or product type with similar photography, so a change of direction is still easy to manage.
Happy with one product? Use the same approved profile to protect a controlled batch next.
Read the Bulk Apply guide