
How to Bulk Watermark Shopify Product Images from Admin
Learn how to bulk watermark Shopify product images from admin with reusable profiles, safe estimates, original backups, and reversible jobs.
5 min readUpdated Sep 16, 2026
How can you watermark hundreds of Shopify product photos efficiently?
The efficient way to bulk watermark images of Shopify products is to reuse one approved profile, select the target products in Shopify admin, verify the image estimate, and let a background job process the batch. RD Watermark stores each original before writing the watermark, so you can review the storefront and restore any image that needs a different treatment.
A visible watermark can identify your brand and make casual reuse less attractive, but it cannot stop someone from saving an image displayed online. The practical goal is deterrence and attribution. Bulk processing adds consistency: instead of exporting, editing, and uploading each file, your team can apply the same tested profile to a deliberate group inside Shopify admin.
Shopify makes the same limitation clear in its guidance on how to protect product images: storefront images remain downloadable, and merchants can use a watermark app when visible protection suits the catalog.
Prepare a reversible batch before changing the catalog
- Name the batch in merchant language. “Spring collection lifestyle images” is safer than “everything added this month.”
- Open a sample of the target products. Include a white background, a dark scene, a close crop, and more than one image shape.
- Choose the image that shoppers must see clearly and decide whether it should remain unwatermarked for sales channels.
- List images to skip, including supplier files that already contain a mark and media scheduled for replacement.
- Run one product first. Approve the storefront result before you expand the same profile to a larger batch.
If you advertise through Google Merchant Center, protect the feed image before you run a catalog-wide job. Google can disapprove product images that contain watermarks, retailer logos, promotional text, or other overlays. Keep an unobstructed primary image for the feed, and apply visible protection only where it fits your channel plan.
Review Google's official product image requirements before changing any image used for Shopping ads or free listings.
For Google Merchant Center's image rules, how to fix the “Promotional overlay on image” error in Shopify's Google & YouTube channel, and how to keep featured images unwatermarked in RD Watermark, read Google Shopping watermark rules for Shopify.
Next, create a reusable profile in RD Watermark's Editor Studio. Use a transparent logo or clear text, set the position and opacity, and preview the result on the hardest image in the batch. A profile gives the whole run one repeatable recipe instead of a series of hand-edited approximations.
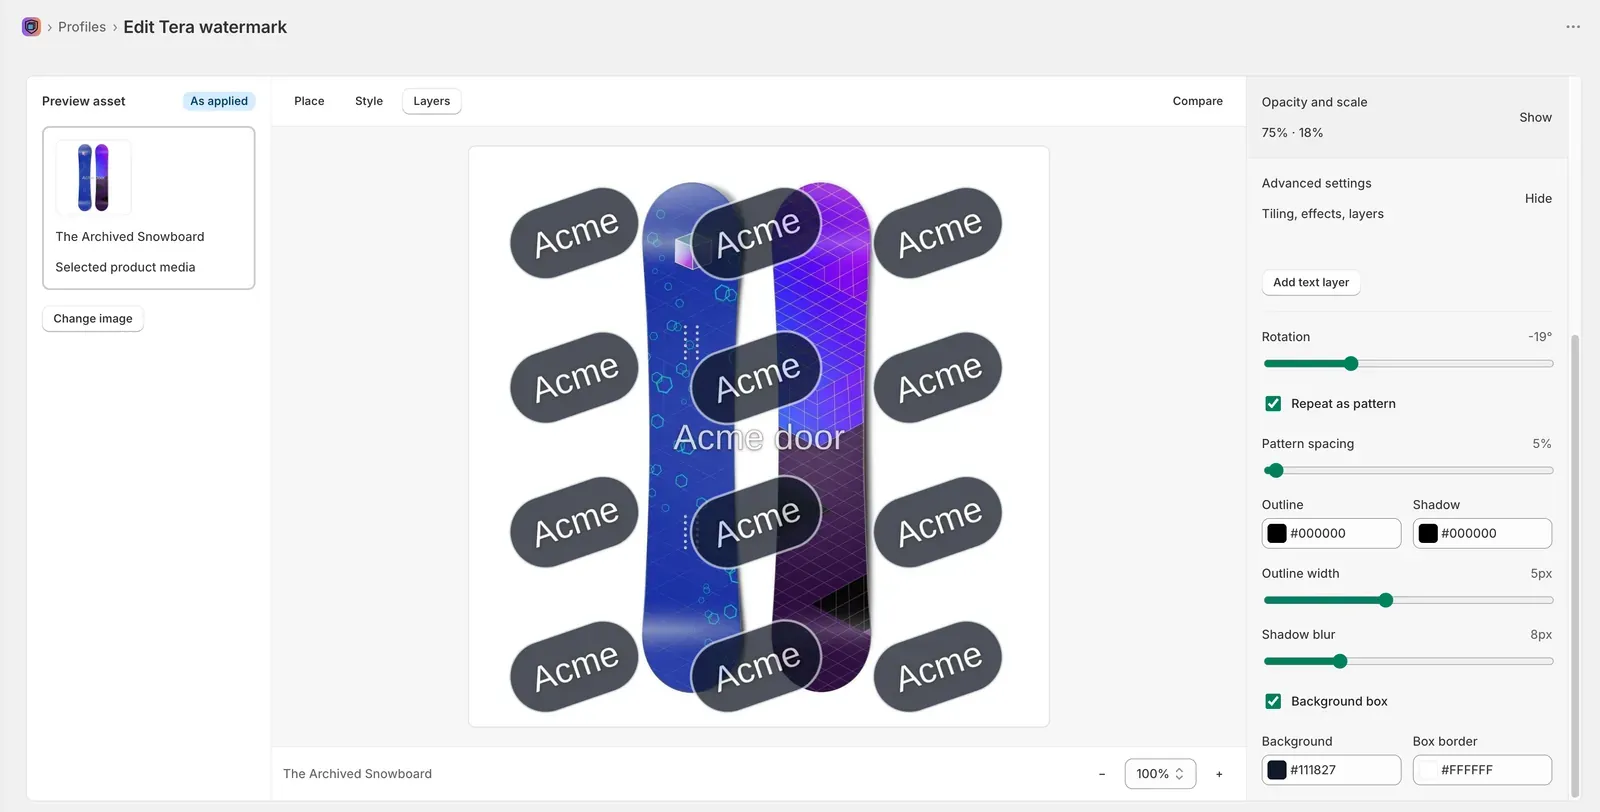
Pro and Unlimited plans also include Anti-removal variation. This option shifts position, angle, opacity, and size slightly for each image. The changes are seeded per image, so reruns stay stable while large groups avoid one identical overlay pattern. It raises the cost of automated removal without promising that any visible watermark is impossible to erase.
If the profile has not passed a storefront test yet, follow the single-product watermarking workflow before you continue.
How to bulk watermark selected products from Shopify admin
1. Select products in Shopify admin
Open Products in Shopify admin and select the products you want to process. Start with a collection, campaign, supplier, or other group whose photography follows similar rules. A deliberate selection is easier to review and restore than a mixed catalog-wide run.
2. Open Watermark selected products
Choose More actions, then Watermark selected products. The admin action confirms the number of selected products. Choose Apply watermark to continue into RD Watermark with those product IDs already loaded; you do not need to select them again inside the app.
3. Choose the approved profile and review the estimate
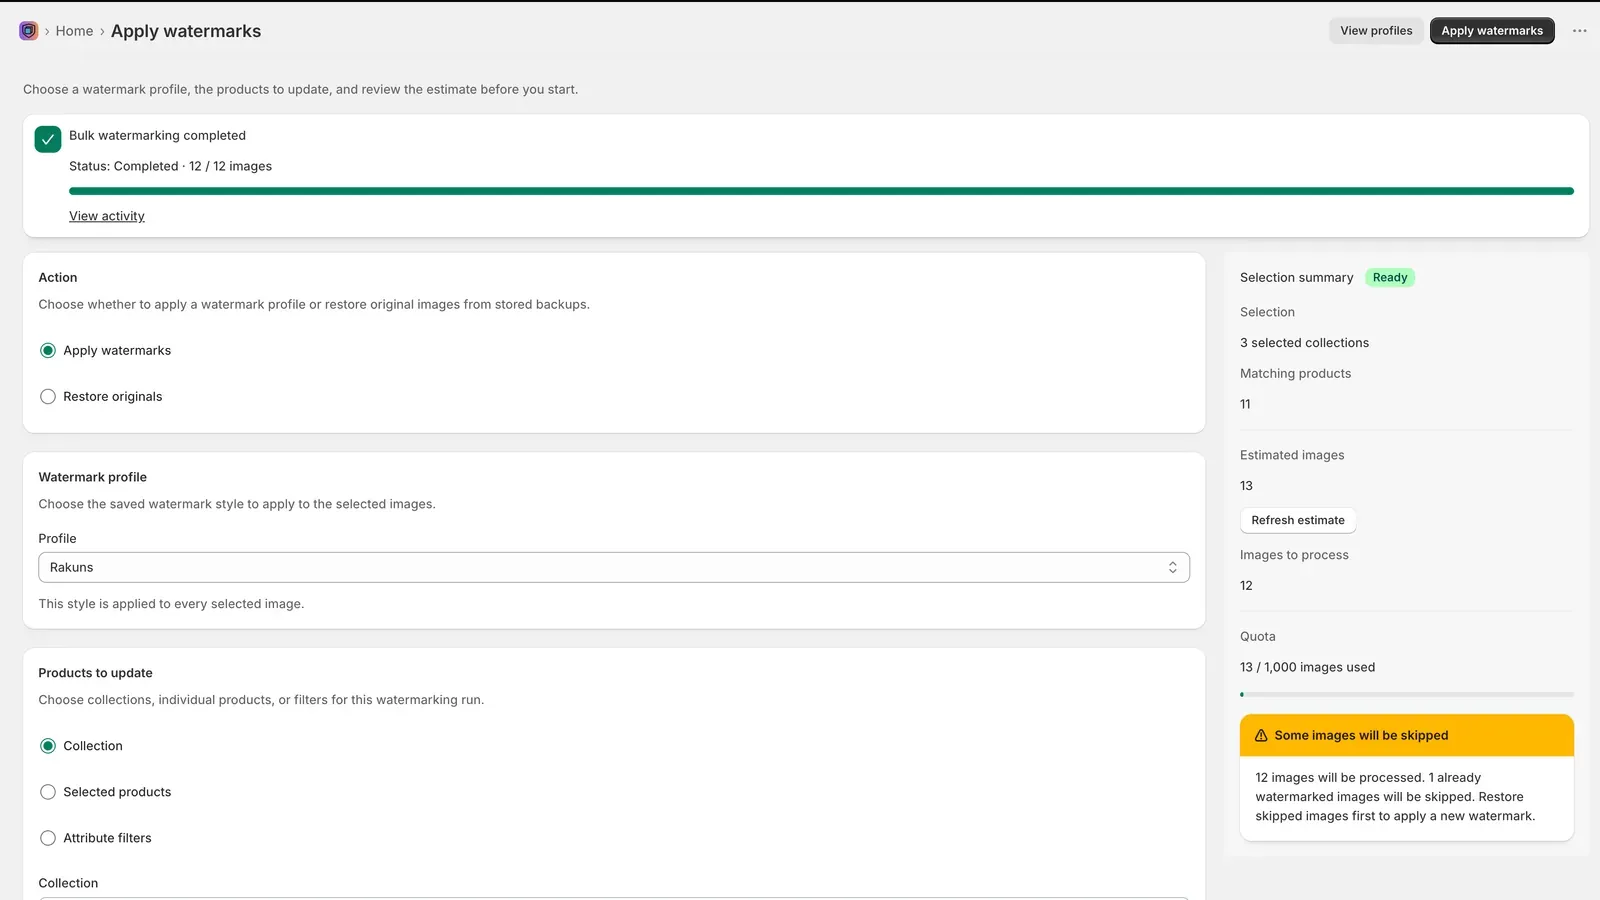
Select the tested profile and review the estimate before you create the job. Confirm that the product and image counts match your intent, check the plan quota, and note any images that RD Watermark will skip because they are already watermarked. If the numbers look wrong, return to the selection instead of hoping the batch will sort itself out.
4. Start the job and follow its history
Start the job after the estimate matches the planned batch. RD Watermark captures the original before it writes a watermarked version, then processes the work in the background. Shopify admin remains available while the job runs. Use job history to see which images completed, failed, or were skipped.
- Let the current batch finish before you start another job against the same products.
- Investigate failed items and retry only the affected work.
- Record the profile name, product group, run date, and approver for future restores or rebrands.
Review the storefront and restore mistakes
A completed job confirms that processing ended; it does not prove that every image supports the sale. Open the storefront and inspect a varied sample at desktop and mobile widths. Include light and dark scenes, close crops, portrait and square images, products with several angles, and the first and last items in the selected group.
| If you see | Do this next |
|---|---|
| A watermark on the primary Google feed image | Restore that image and keep an unobstructed version for Merchant Center. |
| The mark disappears on dark or detailed photos | Restore that image group, then use a higher-contrast profile with an outline or shadow. |
| The logo covers a product detail in close crops | Restore those images, reduce the scale or change placement, then reapply. |
| An unintended product entered the batch | Restore that product from its stored original without undoing the successful images. |
| A few images failed or were skipped | Use job history to find the cause, then retry only the affected images. |
Restore is part of the workflow, not an emergency workaround. Because RD Watermark stores the source before applying the mark, you can reverse an unsuitable result and correct the profile without editing the watermarked output again. That avoids stacking compression and overlays on top of an already modified image.
See how versions and plan limits work in Restore originals.
Automate new catalog images after the profile is proven
Bulk apply solves the current backlog. If new products enter the same catalog pattern every week, an automation rule (available on every plan) can apply an approved profile by collection, tag, or product type. Keep the first runs manual until the profile has passed real storefront review; automation should repeat a trusted decision, not accelerate an untested one.
When the profile and matching conditions are stable, continue with the automation rules guide.
Use RD Watermark inside Shopify admin to build a reusable profile, apply it to selected products, track every job, and restore originals when the catalog needs to change.
Get RD Watermark